Any time you have a new company come out with a product there are usually two schools of thought: They aren’t good enough to compete, or they are cheaper and I’ll try it.
With iDevices smart thermostat, you may be thinking something similar to one of those. Are your worries founded? We are going to find out. In this article, I will cover the ins and outs of the iDevices thermostat, so you don’t have to.
I will show you the good, the bad and where improvements need to be made (or where you can save money by living without certain features). Let’s dive in!
Contents
Who is this Thermostat for?
This thermostat is designed to fill a hole in the smart thermostat market. That hole is closing, but you may be surprised with this guy. Especially if you:
- Need a low cost alternative smart thermostat.
- Use Apple HomeKit and need thermostat integration.
- Need mobile app and voice command operation.
Who is this Thermostat Not for?
Not everyone will love the iDevices thermostat. This much is noted (and I will discuss it further into the article). You will find yourself on this side of the fence if:
- You want to have a well-known name brand to trust.
- Don’t have a Common wire (known as a C-wire).
- Need a thermostat on your wall that is aesthetically pleasing.
Dimensions, Features and Options
Let’s take some time now to go over a few of the more important items dealing with this thermostat. I won’t cover every single tiny detail, but hey, that’s what the questions and comments section is for!
Installation is Easy, If You Have All the Right Parts
Thermostat installation and set up isn’t a difficult task for most residential applications. Some can get tricky if you have multiple zones and need multiple thermostats, however, for most general applications it is a DIY project.
The iDevices thermostat is no different. However, you will need a few basic tools (screwdrivers, drill, etc.) You will also need a C-wire. This part is important. The thermostat does not run on batteries. It required the 24v lone from the C-wire for power and operation.
If you do not have a C-wire, you only have a few options:
- Install a C-wire (or have a professional install one for you). This will run from the power panel on your furnace to the thermostat, through the walls of your home. If you do not have electrical experience, it is best left to a professional. It should cost you about $200 – $500 for the C-Wire installation.
- Find a Power Extender Kit (PEK) that will fit the wiring you do have and install that.
- Purchase a thermostat that does not require a C-wire.
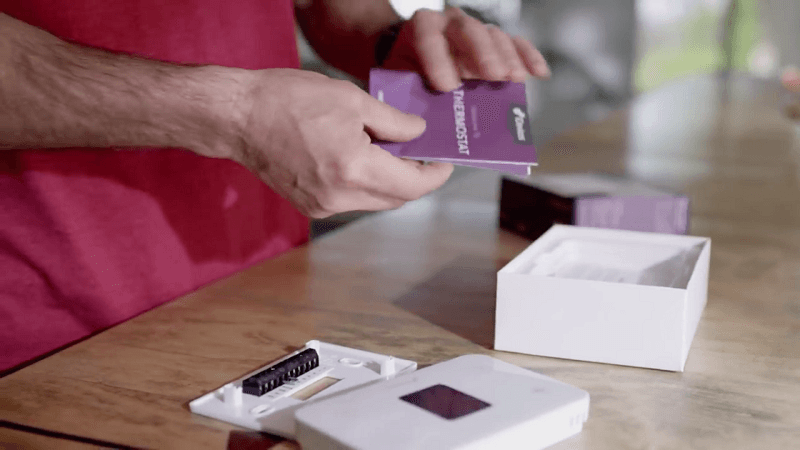
Assuming you have a C-wire or a PEK, let’s go over the installation and set up. I will also assume you have the thermostat unboxed and all the components laid out, ready to go.
- Disconnect the power to the thermostat by switching off the breaker.
- Remove the faceplate of the existing thermostat and clean off any dust or debris build up.
- Take a photo with your cell phone noting the wires, their colors and which port labels they are connected to.
- Remove the wires from the thermostat and remove the mounting screws and the thermostat from the wall.
- NOTE: at this point, some people want to paint the wall, do a repair to make the access hole smaller, etc. If you fit this group, do this now, then continue the installation.
- Put the new thermostat on the wall and mark the screw holes with a pencil.
- Drill pilot holes over the pencil marks and use the wall anchors to fill the holes.
- Put the thermostat in place, ensuring all the wires are pulled through the center. Screw the thermostat to the wall.
- Using the photo as a reference, install the wires into the correct ports. Push any excess wiring back through the center hole into the wall.
- Press the faceplate into place ensuring the connection is sturdy.
- Return power to the thermostat by switching the breaker back on.
At this point, your installation is complete. The thermostat will boot and run the initial set up. Follow the on-screen instructions to make sure the correct system is configured.
From there, you will need to download the mobile app, sync the thermostat to your wireless network and let the mobile app discover your device. Once you have done this, the mobile app will allow you to fine-tune the settings as well as enable advanced settings through its menus.
Because the system is different for Android and iOS devices, I won’t cover them here. However, there are step by step guides for each device type located on the iDevices website.
The Controls are Numerous and Do Actually Function
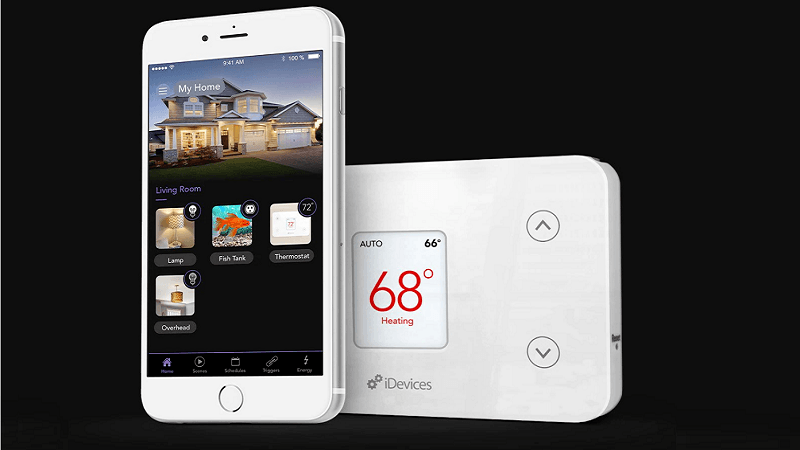
iDevices makes a single app and multiple devices (switches, fans, lights, etc.). One of the great things about the devices (and thermostat in particular) is the ability to view, access and control all the devices from a single app.
Once you have the mobile app downloaded to your device and configured to your network, you will need to run the setup program. This will connect to your thermostat through Bluetooth and allow you to do fine tuning of the initial set up done through the thermostat itself.
If there are any software or firmware updates, you can have them pushed to the thermostat through the app.
Once you are done installing, updating and fine tuning, you will have access to the full app full of features. You can organize your devices by room (which are just named categories) such as “kitchen” or “master bedroom.”
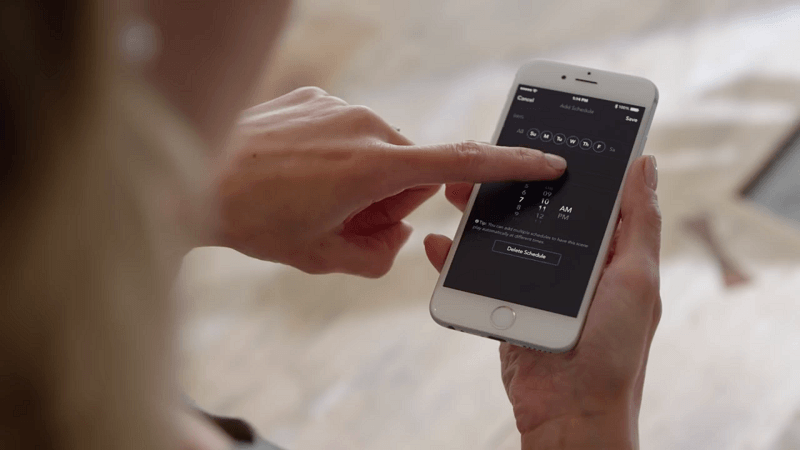
You can also view status reports, energy reports and find out if any of the devices are faulty or disabled. You can even set schedules for the thermostat through the app if you want to have more accurate control.
What you won’t have is abilities such as notifications (in the event of a power outage or the system shutting off), or the ability to use geofencing for further controls.
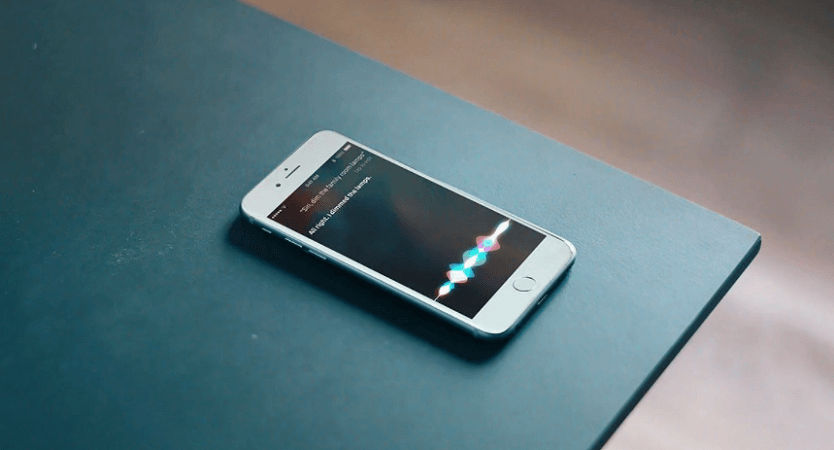
What you can do, though, is enable and sync your Amazon Alexa, Google Home or Apple HomeKit to use voice commands. These commands aren’t very numerous as of this writing, but each update brings a few more into the mix.
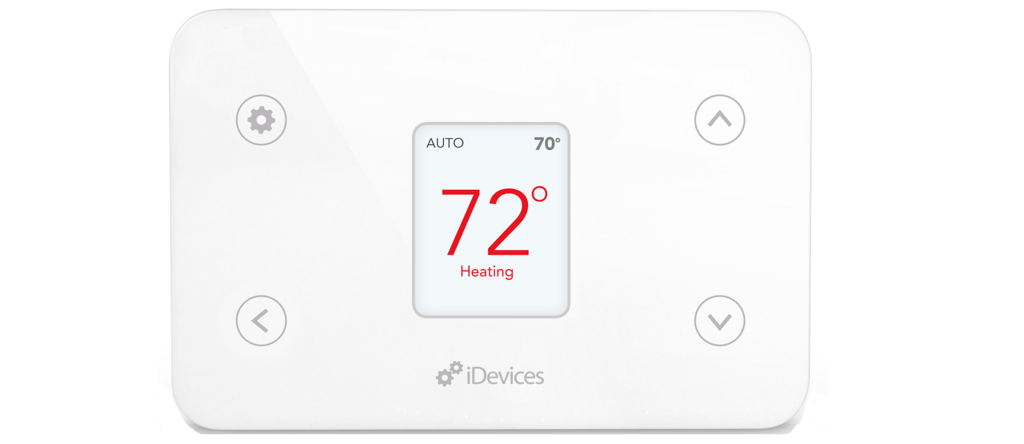
You also have local controls on the thermostat itself. These are cumbersome and can be a bit touchy, but if the wireless network is down, or you can’t locate your phone, you can still change the temperature, turn on the heat or air and view the current status and temperature.
Advanced Controls to Fine Tune your Heating and Cooling
One of the benefits of the iDevices functionality is the ability to really get in and fine tune how it operates.
In the advanced settings menu, you will have access to some items that will help conserve energy or make your system work more efficiently.
You will be able to preheat or precool your home with the preheating/cooling option. This works by allowing your system to turn on prior to the set schedule. So, for example, if you want your home to be 74 degrees at 8 am, you will need to enable the precool option.
Setting a time for the system to kick on before 8 o’clock in the morning so that at the set scheduled time, the home is already at that temperature. Because the house will take some time to heat or cool to the desired temp, the pre-settings help achieve this.
You will also be able to set the span. Span is the degree variance that the system will turn on or off at. For example: if you have the temperature set to 74 degrees, and the span is set to 0.5 degrees (factory default) then the system will kick on at 75 degrees and run until the actual temperature is 73 degrees.
You can change the span to make the system run longer or shorter, depending on how well your home maintains the temperature.
Further, you will be able to control the deadband. Deadband isn’t a new rock group; it is the range of operating temperatures for the system to use when set to Auto mode.
As an example, if you have your temperature set to 74 degrees and the deadband is set to 4 degrees, your system will run in Auto mode (only) for two degrees lower and two degrees higher than your set temperature (or 72 to 76 degrees for our example.).
You can adjust the number of degrees for the deadband, but not it will not have any effect if your system is in Heat, Emergency Heat, or Cool modes and will only affect the system operation while in Auto mode.
Finally, you can adjust the offset. Every thermostat has an offset range. This is a reading of the ambient temperature versus the actual temperature. The more accurate the reading, the lower the offset for that particular thermostat.
However, for iDevices, you can control the offset. So if your thermostat is reading 76 degrees and you know the ambient temperature is actually 73 degrees, you can enable the offset and adjust it 3 degrees. This will then show the ambient temperature of 73 degrees.
Specifications Chart
Let’s take a look at everything the thermostat has to offer (or is lacking) in this fun little chart I made for you.
| iDevices Thermostat | |
| Dimensions | 5.1×0.8×3.4 inches |
| Wireless Connectivity | Yes |
| Remote Access on Tablet, Smart Phone or computer | Yes |
| Program Options | 7 Day |
| User Interface | Push button controls |
| Stages | Up to 3 Heat / 2 Cool Heat Pump Up to 2 Heat / 2 Cool Conventional |
| Power Method | Hardwired |
| Custom Service Reminders | No |
| Meets Commercial Code | Yes |
| Delta T Diagnostics | No |
| Alerts Log | No |
| User Interaction Log | No |
| Performance Log | Yes |
| Additional Heat/Cool Stages with Universal Relays | No |
| On Screen Instructions | Yes |
| Advanced Heat Pump Control (including dual fuel) | No |
| Wireless Outdoor Sensor | No |
| Wireless Indoor Sensor | No |
| Filter, Humidifier Pad Replacement Reminders | No |
| Continuous Backlight | No |
| Continuous Fan | No |
| Fan Circulate | Yes |
| Temperature Setpoint Limits | Yes |
| Mobile App | Yes |
| Warranty | 2 years |
| Price | Check on Amazon |
Alternative Options
Just in case you’ve decided this isn’t the right thermostat for you, here are some other options to consider (or compare)
Ecobee3
The Ecobee3 is a budget-friendly smart thermostat that also works with Apple HomeKit. You can also control through a mobile app, Amazon Alexa, Google Home as well as multiple others like Wink, SmartThings and IFTTT.
The thermostat has better aesthetics than the iDevices and if that is important to you, could be a deal maker. You also get a touchscreen LCD as well as a room sensor to help maintain the temperature across your entire home.
Read our Comparison of Ecobee 3 & Ecobee 4
Ecobee4
[easyazon_image align=”center” height=”300″ identifier=”B06W2LQY6L” locale=”US” src=”https://smartrobotichome.com/wp-content/uploads/2019/02/31T5RMCv1QL.jpg” tag=”srh-easyazon-20″ width=”300″]Just in case you want to spend some money and get the very best, the Ecobee4 is that thermostat. It is arguably the greatest smart thermostat on the market right now (I will argue this, or fight if you like). You get a very attractive thermostat, touch screen, Amazon Alexa built into the unit, as well as all of the controls of the Ecobee3.
There is a speaker installed as well as the ability to activate Far-Field Voice Recognition and many features you haven’t even thought about. It allows geofencing, status reports, monitoring notifications and will even tell you when it is time to change your filters.
Frequently Asked Questions
Now I get to answer some of the more common question (and make fun of them) that you may have. If you still have questions, please use the comment section below.
Q. I’ve heard there are numerous problems with the thermostat, like it disconnecting or shutting off. Are they true?
A. There are problems with the thermostat. Which can be true of any electronic device. However, yes, there have been reported issues such as those that you have mentioned.
When the device was first released, the firmware was not able to maintain the wireless connection. This wouldn’t be such a bad problem, except that it happened after about 20 to 24 hours of use.
The problem was that you had to completely reconnect the thermostat, which meant removing it from the wall, removing the power wire, reinstalling and setting everything back up. Doing this daily would be a hassle.
Other problems were reported such as the unit shutting off all on its own, or the voice commands not being recognized and executed.
For the first problem, iDevices pushed out a firmware update that has quieted the reports of that problem coming in. The other problems were all fixed with either a firmware update or an update to the mobile app.
They also instituted a Bluetooth fix where you can push a firmware or software update from the app to the thermostat.
Since these latest updates (which are now mandatory to install during set up), the thermostat doesn’t have any problems that would cause major concern.
However, if you want added peace of mind, there is a 30 day, no questions asked return policy and a 2 year warranty of product and manufacturing defects. Customer service is very helpful and able to quell most problems with just a single phone call.
Q. Do I need Wireless of Bluetooth to operate the thermostat?
A. No. Because the device is hardwired and has local controls, you can install the thermostat and do the initial set up. From there you will have the local control access to operate your system.
It will run just like a standard thermostat and your HVAC system will still operate. However, you will not get the abilities for fine-tuning, the mobile app or voice commands.
Also, not to be too rude, but if you are getting a smart thermostat that you don’t connect to the wireless network and just want to run it like a standard $15 thermostat, what’s the point?
In Conclusion
The iDevices thermostat is known to have a few issues. However, these issues are constantly addressed by customer service, the updates are timely and easily pushed through. Each instance of a major problem has been solved quickly (if the customer actually contacts customer service.)
It isn’t the best smart thermostat on the market, but that isn’t the goal. The main goal is to be an affordable option for those that want smart home integration without a lot of added bells and whistles. On that end, the thermostat delivers.
As long as you are somewhat technically inclined (and if you aren’t a smart home isn’t for you), then you should have no problems with the installation and operation of this thermostat. If you are willing to help a new company work through their firmware bugs and receive updates as needed, you could be quite happy with the money you save and the thermostat itself.
In a Nutshell
The iDevices thermostat isn’t a ground-breaking innovation. It is, however, an affordable thermostat that can help you cut down on your energy consumption. If you have patience and want to save money, it is worth looking into.
What I Like
- Advanced options through the mobile app to fine tune your system.
- Works with Apple HomeKit, which is rare.
- Easy to install and blends in to not be noticed.
What I Don’t Like
- Requires wireless networks and Bluetooth for updates and set up.
- Has known issues, though they are addressed.
- Doesn’t have a touch screen to give it that smart thermostat feel.